How can we help you?
Recent Searches Clear All
News
For the inspection, repair, operation, and digital management of urban water supply and drainage networks
Sep.24,2026
To maintain Pipe Inspection Equipment for long-term reliable performance, I recommend a repeatable routine covering pre-use checks, post-use cleaning, component inspection, calibration, documentation, and controlled storage. This process reduces contamination, detects damage before failure, protects measurement accuracy, and helps inspection companies control repair and replacement costs.
!
Pipe inspection equipment operates in conditions that combine water, grit, sewage, chemical residue, vibration, impact, and repeated cable movement. A camera head may be pushed through abrasive deposits, while a crawler can experience wheel loading, traction loss, and contact with standing water. Without preventive maintenance, minor contamination or wear can affect image clarity, distance readings, steering response, and defect identification.
I treat maintenance as part of inspection accuracy rather than as a separate workshop task. A dirty lens can conceal a crack, a damaged cable can create intermittent video loss, and an unverified distance counter can produce inaccurate defect locations. For utility contractors, municipal teams, and sewer inspection companies, these errors can lead to repeat visits, disputed reports, unsafe deployment, and unnecessary equipment replacement.
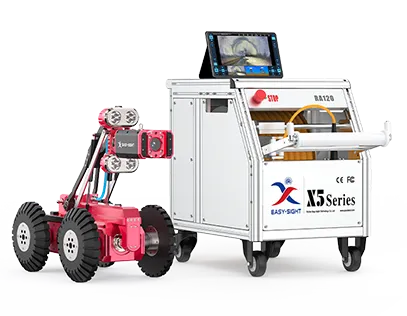
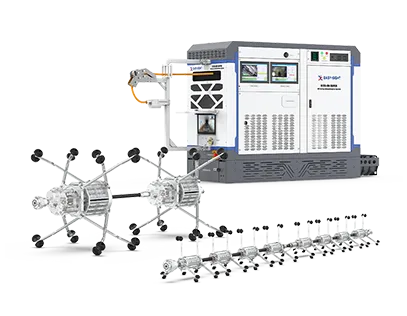
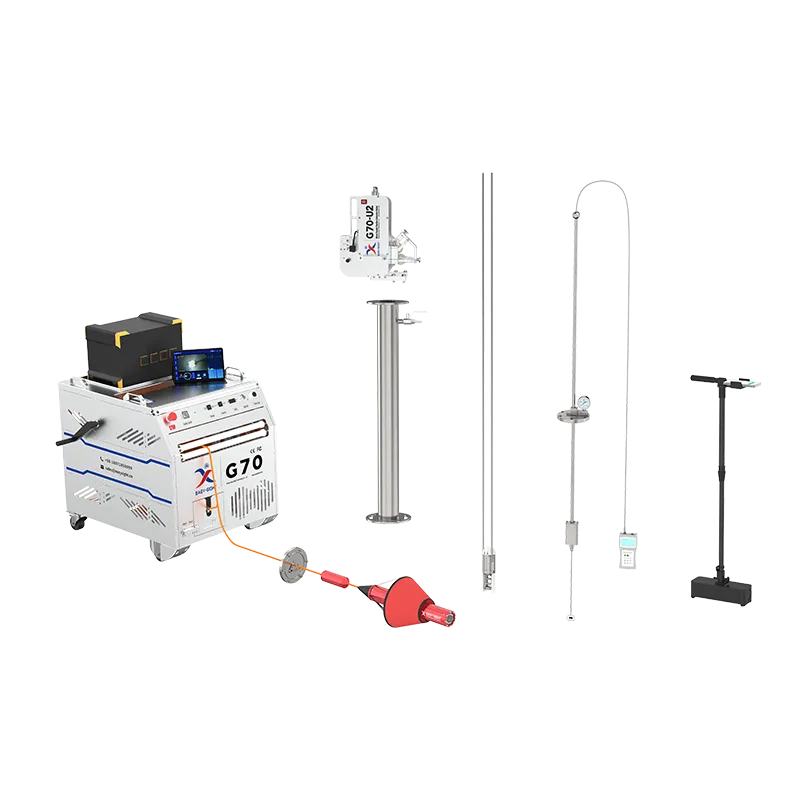
Easy-Sight provides equipment categories that include pipeline inspection robots, crawlers, pole cameras, manhole cameras, sonar systems, and water-pipe inspection systems. Because these systems contain different mechanical, optical, electrical, and waterproofing components, I recommend combining manufacturer instructions with a documented field equipment maintenance checklist.
The following process applies to push camera systems, crawler camera systems, reel assemblies, control units, and related inspection accessories. I adjust the inspection depth and service interval according to the equipment design, operating environment, manufacturer requirements, and the number of inspection hours.
Before connecting power, I examine the camera housing, lens window, connector pins, cable jacket, reel frame, wheels, crawler body, monitor, keyboard, and control switches. I look for cracks, missing fasteners, flattened cable sections, exposed conductors, damaged seals, and signs of chemical or water intrusion. Any component with exposed wiring, a cracked waterproof housing, or a loose connector should be removed from service until inspected by a qualified technician.
I then power the system on in a clean area and verify the live image, lighting response, focus, pan-and-tilt movement, crawler drive, steering, distance counter, recording function, and audio channel. The image should remain stable while the cable is moved through its normal operating path. I also confirm that the date, time, job identifier, and measurement units are correct before the inspection begins.
I rinse external surfaces with clean water to remove grit and organic residue before it dries. For the camera lens, I use a soft, lint-free cloth and a compatible lens-cleaning solution rather than abrasive paper or a dry brush. I avoid directing high-pressure water at connectors, control panels, cable-entry points, battery compartments, or ventilation openings unless the equipment is specifically designed for that procedure.
After cleaning, I dry the equipment with a clean cloth and allow moisture to evaporate before storage. The camera head, crawler, reel, and cable should not be placed into a sealed case while wet because trapped moisture can accelerate corrosion and cause electrical faults. If the equipment entered contaminated water, I also clean gloves, guides, skids, wheels, and transport trays to prevent residue from spreading to the next job.
The camera head requires careful attention because the lens, light ring, body seals, and connector are exposed to direct contact with pipe material. I check the lens for scratches, haze, mineral deposits, and impact marks, then inspect the housing for dents or cracks. If image sharpness changes after cleaning, I compare the camera against a known test target before sending it into the pipe.
For reels, I check that the drum rotates smoothly and that the cable winds evenly without crossing, flattening, or binding. I inspect the cable guide, strain relief, termination point, and meter counter because these areas experience repeated bending. I never force a jammed cable or pull it by the connector, since tensile stress can damage internal conductors and waterproofing layers.
Push cable should be cleaned as it returns to the reel rather than after several jobs have accumulated. I use a controlled wiping point or cleaning sleeve that removes sludge without creating sharp bends. A practical field rule is to maintain a bend radius at least six times the cable diameter unless the manufacturer specifies a different limit.
Crawler camera maintenance includes cleaning wheels, axles, drive belts, steering joints, lifting mechanisms, and skid attachments. I remove stones, cable fragments, grease-contaminated debris, and hardened deposits before checking wheel alignment. Uneven wheel wear can cause the crawler to drift, increase motor load, and make measurements less consistent.
I inspect moving joints for excessive play and check that locking pins, fasteners, and camera supports are secure. Lubrication should be applied only where the equipment manual permits it because excess lubricant can attract abrasive grit or compromise seals. After cleaning, I run the crawler on a dry test surface for several minutes and compare forward, reverse, left, and right movement.
When a crawler operates in a large or damaged pipe, I also inspect obstacle-clearance components and traction accessories. Worn tires, rollers, or tracks should be replaced before they begin slipping under load. Repeated traction loss is not only a mechanical problem; it can result in incomplete coverage and inconsistent camera positioning.
I use the following checklist to make field inspections repeatable. Each completed check should be recorded with the equipment identification number, technician initials, date, operating hours, and any corrective action.
| Inspection point | Before deployment | After retrieval | Before long-term storage |
|---|---|---|---|
| Camera lens and housing | Inspect and test | Clean and dry | Protect with cover |
| Push cable or tether | Check jacket and connector | Wipe and inspect | Wind without kinks |
| Reel and distance counter | Confirm operation | Remove debris | Secure drum and guide |
| Crawler wheels or tracks | Test movement | Wash and inspect | Relieve load where applicable |
| Electrical connectors | Check pins and seals | Dry fully | Cap and protect |
| Battery system | Check charge and damage | Record condition | Store at approved charge |
| Monitor and controls | Test display and recording | Clean exterior | Protect from dust |
| Calibration status | Confirm current record | Note abnormal readings | Schedule next verification |
A daily schedule should cover pre-use inspection, post-use cleaning, cable handling, image verification, and recording checks. I also record visible damage on the same day rather than relying on memory. This creates a service history that helps identify repeated failures and components with unusually short service life.
Each week, I inspect fasteners, cable guides, wheel or track wear, connector seals, battery terminals, cooling openings, and transport cases. I test the distance counter over a known length, review recorded video for flicker or signal loss, and check whether the camera lights remain balanced. For equipment used in several wet or abrasive inspections each week, weekly cleaning and mechanical checks may need to occur after every shift.
Each month, I review operating hours, repair incidents, calibration results, battery performance, and spare-parts consumption. I inspect waterproofing interfaces, strain-relief points, reel bearings, camera mounts, and crawler drive assemblies more closely. If the equipment has accumulated a high number of operating hours or has been exposed to chemicals, freezing temperatures, or impact, I shorten the monthly interval.
At least once each year, I schedule a documented service inspection that includes electrical testing, waterproofing review, camera verification, distance measurement verification, battery assessment, and replacement of worn consumables. The annual review should also compare repair spending with replacement cost. If repairs approach approximately 50% to 70% of replacement cost and failures are affecting scheduled work, replacement may provide better lifecycle control.
Calibration ensures that inspection results remain connected to real dimensions, locations, and defect conditions. I verify the camera image using a test chart or known reference target, check the distance counter against a measured length, and confirm that pan-and-tilt or crawler movement responds correctly. Where the equipment measures diameter, leakage, inclination, or other values, I follow the manufacturer’s specified reference method rather than relying on visual judgment.
For distance verification, I use a measured test path long enough to expose counter drift, such as 10 meters or another length defined by the equipment procedure. I compare displayed distance with the reference length and record the difference as both an absolute value and a percentage. If the result exceeds the manufacturer’s tolerance, I stop using the measurement for formal reporting until the cause is corrected.
Image quality testing should include focus, color, exposure, lighting uniformity, dead pixels, image freezing, and recording stability. I also inspect footage captured while the camera is stationary and while it is moving because vibration-related blur may not appear during a static test. A clean lens and stable light output directly affect defect detection, especially for small cracks, displaced joints, corrosion, and infiltration points.
Maintenance can change measurement results even when the software has not changed. Cable stretch, reel slippage, worn wheels, loose camera mounts, and damaged encoder components can create inaccurate location data. After replacing a cable, encoder, camera head, wheel set, or control module, I repeat the relevant calibration and keep the previous record for comparison.
I recommend operator checks before and after every use, a documented mechanical and electrical review every week, a deeper condition review every month, and formal service at least every 12 months. Equipment used daily in abrasive, flooded, chemically contaminated, or cold environments may require shorter intervals. A service event should also occur immediately after impact, water intrusion, unexplained image degradation, distance-counter disagreement, or repeated electrical faults.
Proper storage begins after cleaning, drying, and recording the equipment condition. I store cameras, reels, crawlers, and control units in a dry area with stable temperature, limited dust, and no direct sunlight. Batteries are stored according to the battery manufacturer’s charge range, while connectors are capped and cables are supported without tight bends.
During transport, I secure heavy crawler components so they cannot move inside the vehicle or case. I separate clean control equipment from contaminated camera assemblies and use protective covers around lenses, screens, connectors, and exposed mechanical parts. Equipment should not be left overnight in a vehicle during freezing conditions or excessive heat because temperature cycling can affect seals, batteries, displays, and electronic boards.
Cold-weather maintenance requires additional care. I allow equipment to reach the operating temperature gradually before applying power, especially when it moves from a cold vehicle into a warm building. Condensation should be removed before testing, and batteries should not be charged while they are outside the manufacturer’s permitted temperature range.
When an inspection system fails, I first identify whether the problem is contamination, configuration, calibration, mechanical wear, electrical damage, or water intrusion. I avoid repeatedly powering equipment that shows smoke, burning odor, short-circuit behavior, internal condensation, or visible conductor damage. Continued operation can expand a localized fault into damage to the camera, control unit, reel, or battery system.
| Symptom | First action | Likely maintenance response |
|---|---|---|
| Blurred or hazy image | Clean lens and inspect housing | Replace lens or service seal if unresolved |
| Intermittent video | Check connectors and cable movement | Test cable continuity and termination |
| Incorrect distance reading | Compare with measured test length | Recalibrate counter or inspect encoder |
| Crawler drifting | Inspect wheels, tracks, and alignment | Replace worn parts or adjust drive system |
| Lights flickering | Check power supply and connector | Test LED module, cable, and battery |
| Water inside housing | Remove from service immediately | Drying, seal inspection, and professional repair |
| Battery heats or swells | Disconnect and isolate safely | Replace battery and inspect charger |
A useful decision sequence is clean, test, recalibrate, repair, replace, or retire. If cleaning restores normal performance and the equipment passes testing, I document the action and return it to service. If the equipment remains outside calibration limits, has repeated faults, or shows compromised waterproofing, I send it for repair rather than accepting uncertain inspection data.
I maintain a small inventory of parts that commonly delay field work, including lens covers, connector caps, cable guides, fuses, approved fasteners, wheel or track components, batteries, chargers, and cleaning materials. The exact stock level depends on fleet size and operating hours, but a two-week supply of frequently used consumables is a practical starting point for active inspection teams.
I also track cost by equipment identification number. The record should include service labor, replacement parts, downtime, repeat inspections, calibration failures, and damage caused by transport or storage. This allows me to compare the cost of maintenance with the cost of replacement using actual field data rather than a general assumption.
Regular maintenance is usually justified when it prevents one or more repeat site visits, protects recorded evidence, or extends the useful period of a major component. Replacement becomes more reasonable when a system has recurring faults, unsupported parts, obsolete software, unsafe batteries, or repair costs that approach the cost of a new unit. The decision should include downtime and data reliability, not only the purchase price.
To maintain pipe inspection equipment for long-term reliable performance, I use a documented routine that begins before deployment and continues through cleaning, calibration, storage, and service review. I inspect cameras, reels, cables, crawlers, connectors, batteries, controls, and waterproofing points at intervals matched to field conditions. I also verify image quality and measurement accuracy after repairs, component changes, impacts, or unexplained performance loss.
The most practical next step is to issue each technician a field-ready checklist and require records for every pre-use inspection, post-use cleaning, calibration test, and repair decision. Set daily, weekly, monthly, and annual service dates in the equipment register, then review repair costs and downtime at least once each quarter. This approach helps inspection companies maintain reliable data, reduce avoidable failures, and decide objectively when to clean, recalibrate, repair, replace, or remove equipment from service.
Latest News
Sep.24,2026
How to Maintain Pipe Inspection Equipment for Long-Term Reliable Performance
Sep.23,2026
Portable vs Robotic Pipe Inspection Equipment: Which Solution Fits Your Project?
Sep.22,2026
Essential Features to Look for in Professional Pipe Inspection Equipment
Get Friendly Advice, Tailored to You!
Let's Talk About Your Project